Help Center > Quick Start Guide
Quick Start Guide
Squarum Knowledge Base Article
Last Updated: November 30, 2025
How to run your first User Access Review in 10 minutes?
Squarum is a SaaS platform allowing companies conduct their user access reviews efficiently and gathering all related data into a single location.
This article describes how you can conduct your 1st User Access Review in 10 minutes.
Pre-requirements:
- You have registered and logged in to Squarum.
- You have the app decided and it’s users to be reviewed listed in a spreadsheet. You need these in order to copy/paste the user list to Squarum.
STEP 1: Start a new User Access Review
1.1 On the dashboard, click the ‘+Start review’ button.
1.2 Enter the app name, review name, description and deadline. Click ‘Next’.
1.3 Who is performing the review? Keep yourself as the performer (and app owner). Click ‘Next’.
1.4 Check and confirm basic information and click ‘Next’ to create a new User Access Review.
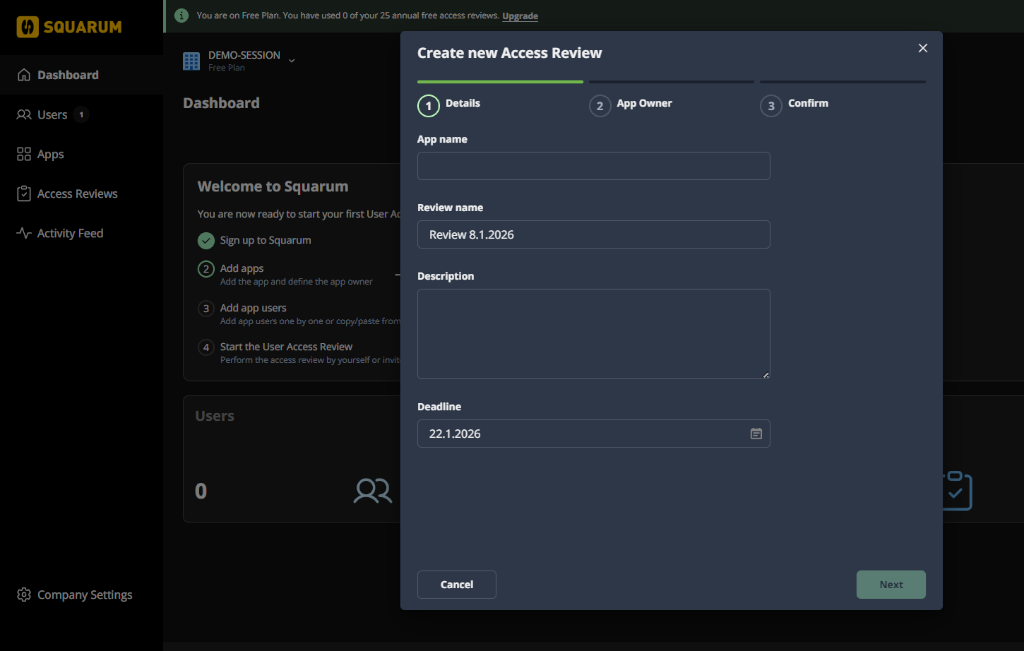
STEP 2: Set up the Access Review - Add the users and reviewers
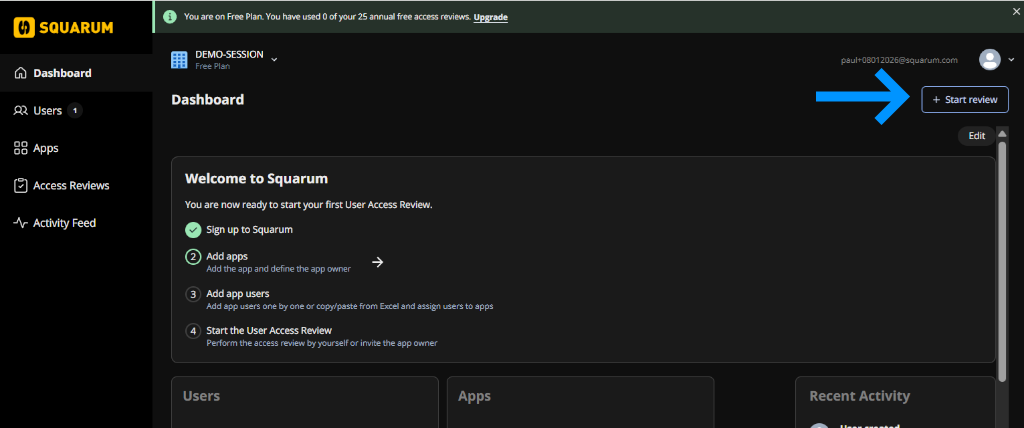
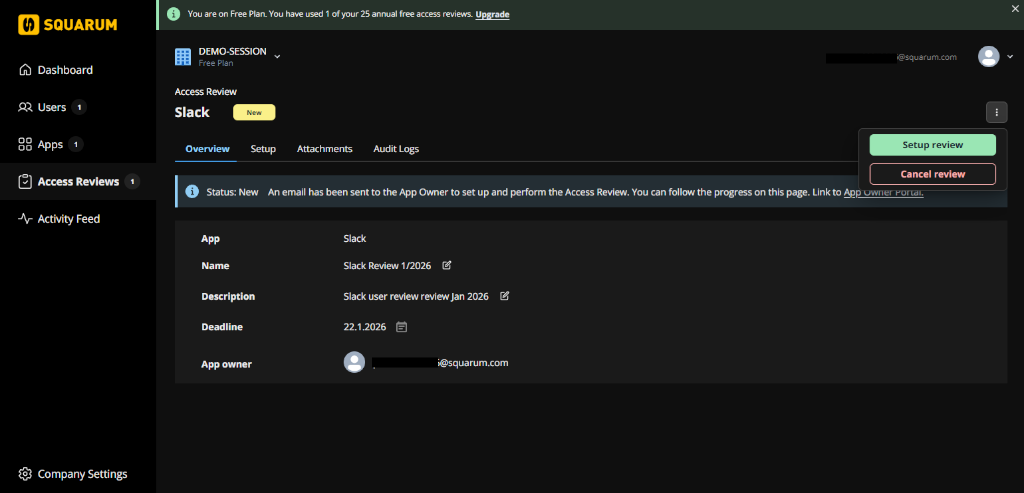
2.1 Click the dropdown menu on the right and select ‘Setup review’.
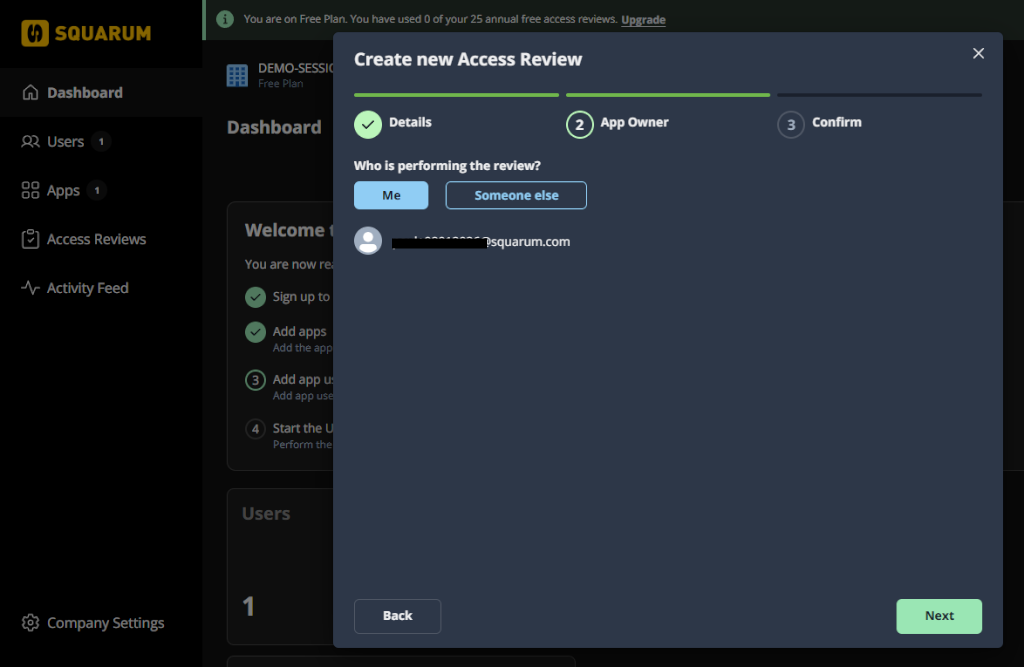
Sidenote! Typically the set up is performed by the App Owner in the App Owner Portal. In this quick start guide we assume you have set yourself as the App Owner and you perform all the App Owner actions in the Admin Console.
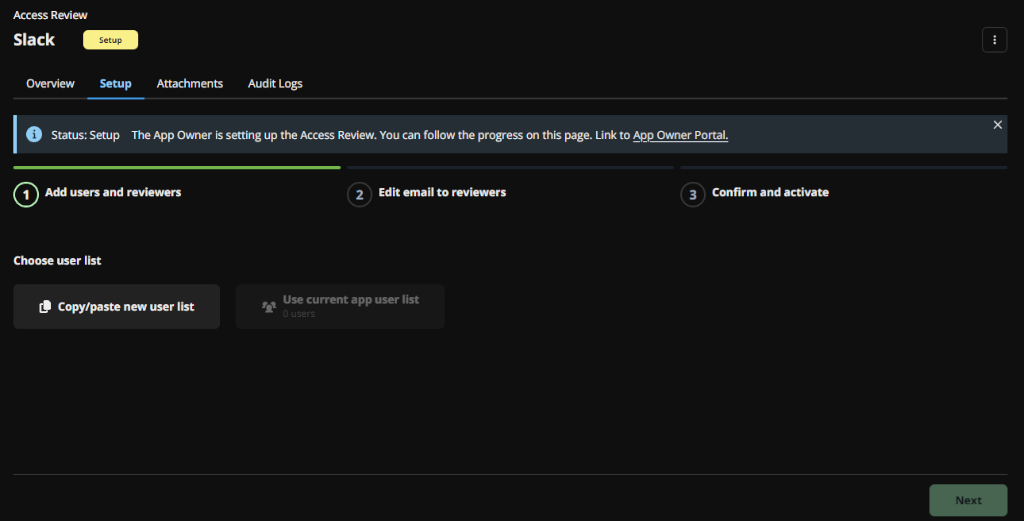
2.2 Click ‘Copy/paste new user list’.
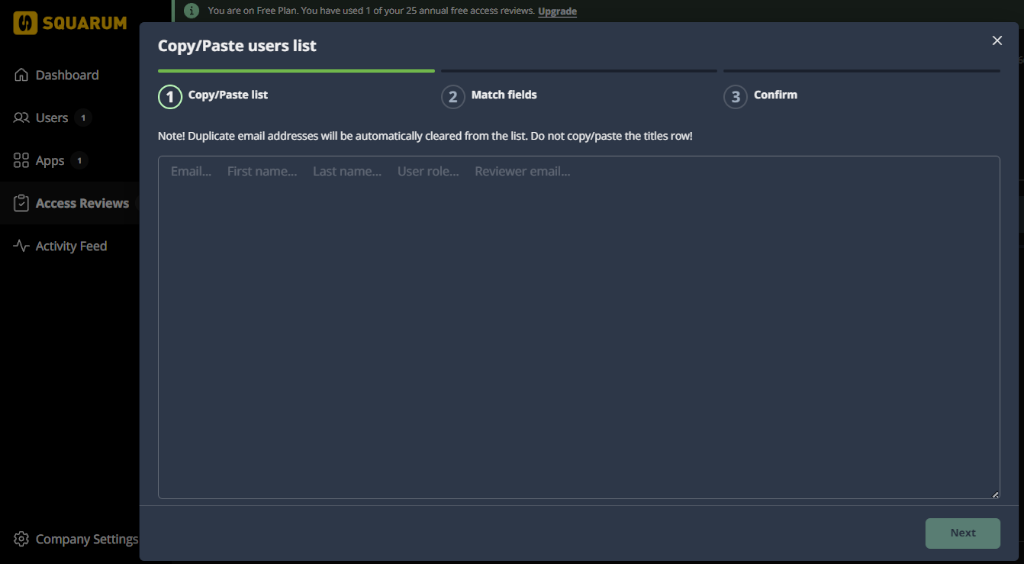
2.3 Copy/paste your user list from a spreadsheet and Click ‘Next’. Recommendation is to have separate columns for:
- User email address
- User first name
- User last name
- Reviewer email address (in this quick start test you might want to put your own email address here)
2.4 Match columns to Squarum fields.
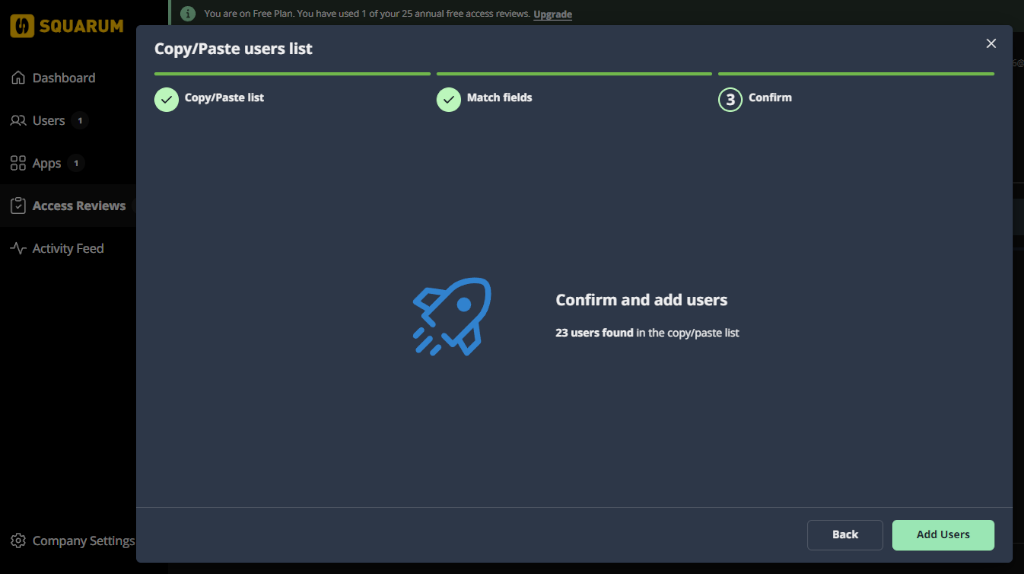
2.5 Confirm and click ‘Add Users’ button.
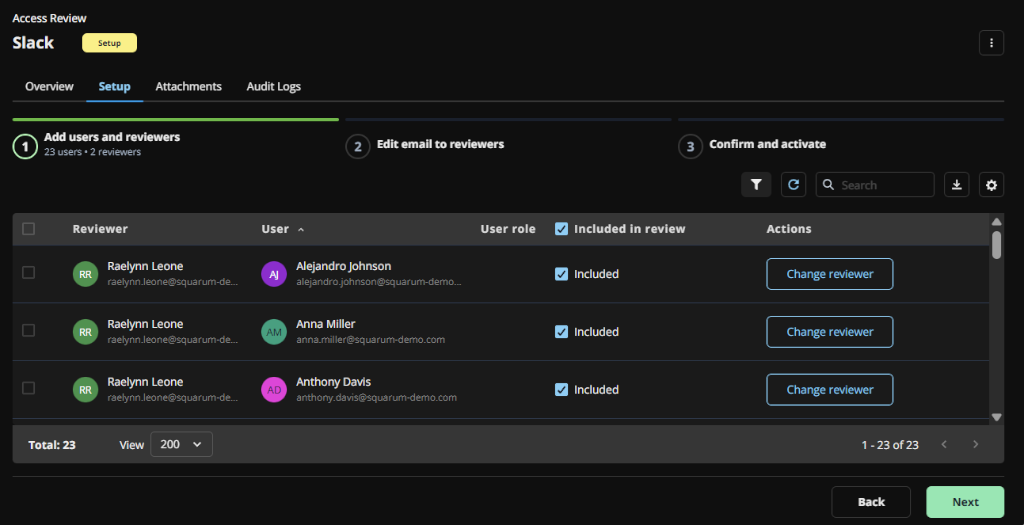
2.6 Now you have the users and reviewers added to Squarum. You may modify/add reviewers in case you did not have those in your spreadsheet. When ready, click the ‘Next’ button.
NOTE! Each user must have the reviewer defined in order to continue.
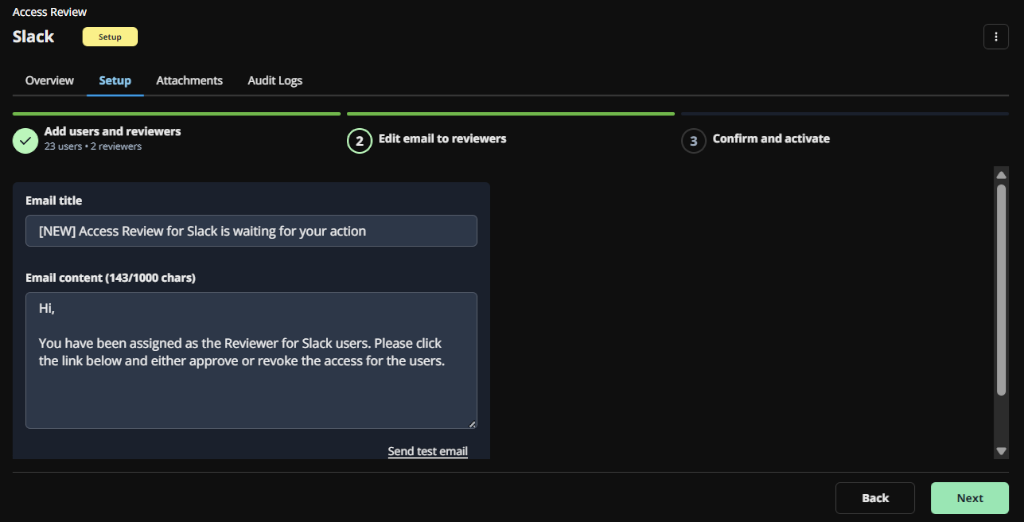
2.7 Check and modify the email to be sent to Reviewers. When ready, click the ‘Next’ button.
NOTE! The email always contains the link to the Reviewer Portal. You may send a test email to yourself to check the content.
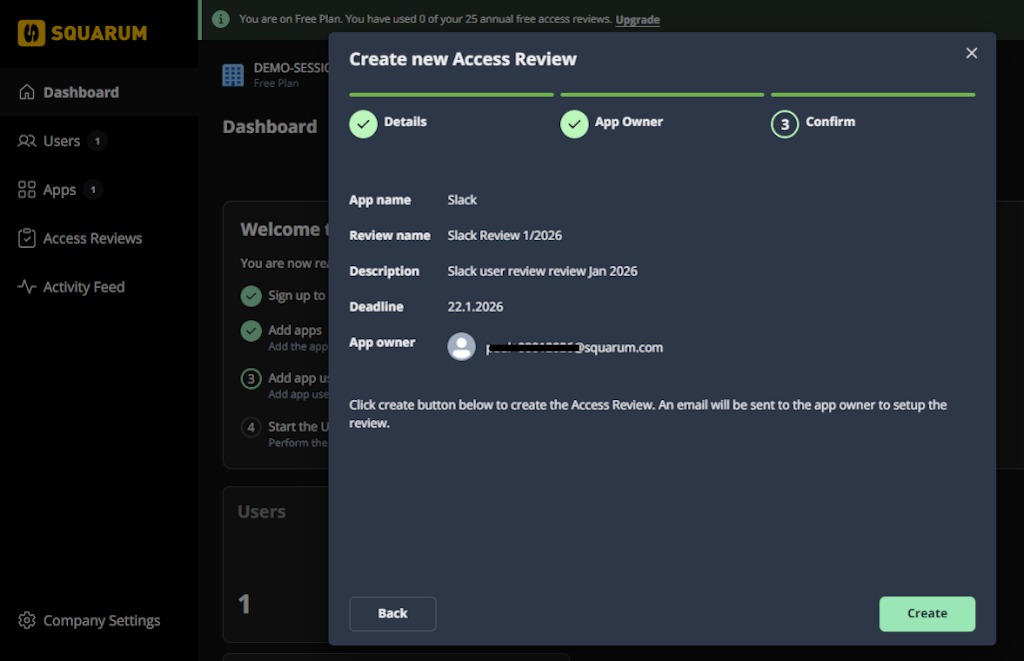
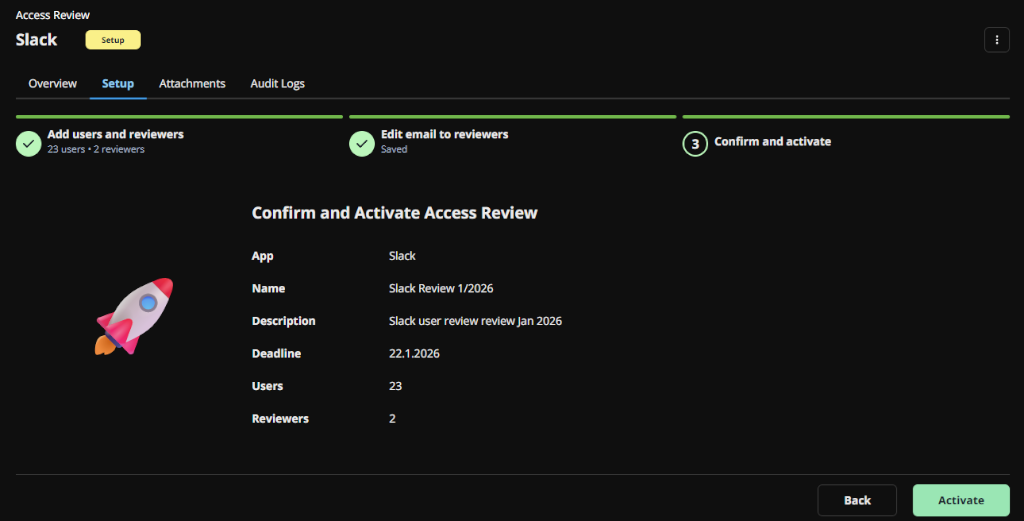
2.8 Confirm and activate the user access review, click the ‘Activate’ button.
STEP 3: Review the Users (APPROVE/REVOKE ACCESS)
3.1 Now you have the User Access Review activated and reviewing the user’s access can be started.
In this quick start guide we assume you have set yourself as the Reviewer.
3.2 You may review (approve/revoke) the users either from the Admin Console or by logging in to the Reviewer Portal (link found in your email).
STEP 4: Finish the Access Review
4.1 When all the users has been reviewed, you can change the User Access Review status to ‘Finished’ by clicking the ‘Finish review’ button. This locks the user table and no changes can be done there anymore. NOTE! You can still add attachments (evidences) to the Access Review.
4.2 In the ‘Finished’ status you typically perform the corrective actions like remove the revoked users, and add evidences (attachments) to the Access Review. When ready, click the ‘Complete’ button.
4.3 Attachments (evidence) can be added from both the Admin Console and from the App Owner Portal (by the App Owner).
STEP 5: Complete the Access Review
5.1 For taking the last step, completing the Access Review, click the ‘Complete review’ button. This generates automatically a PDF of the results.
5.2 A system created access review results PDF is generated and attached automatically to the Attachments table when the review is completed.
Summary
That’s the quick overview of how to perform your first User Access Review in 10 minutes. The next step is to review another ap and it’s users, and to delegate the set up of the access review (adding the users and reviewers) to another employee in your organization (App Owner).
Previous
Next
Have more questions?
Don’t worry, you can always contact us by email. We are more than happy to assist.